PUBLISHED 15 MARCH 2022
Shipments
Once you’ve added your shipment and it’s appearing in the Prepare & print tab on the Shipments page, you’re ready to print your labels. If you haven’t already, you may need to set your label printing preferences.
Print labels for a single shipment
- Click the printer icon to the right of the shipment that you want to print labels for.
- A print dialogue box will appear. Click Print.
Your labels will print and your shipments will be moved to the Ready to despatch tab.
Print labels for multiple shipments
- Tick the checkbox next to each shipment you want to print labels for. If you’d like to print labels for all your shipments, click Select all at the top of the checkboxes.
- Click the Print labels button in the top right-hand side of the screen.
- A print dialogue box will appear. Click Print.
Your labels will print and your shipments will be moved to the Ready to despatch tab.
Reprint a label
- To reprint a label, find your shipment in the Ready to despatch tab in the Shipments screen.
- Click the ‘more’ menu (the 3 dots) to the right of the shipment you want to reprint a label for - a dropdown menu will appear.
- Click Print labels.
Returns and transfers
Labels are created when you create a return or transfer, and can be reprinted for 24 hours.
- Australia Post
- StarTrack
- On Demand
Print a label
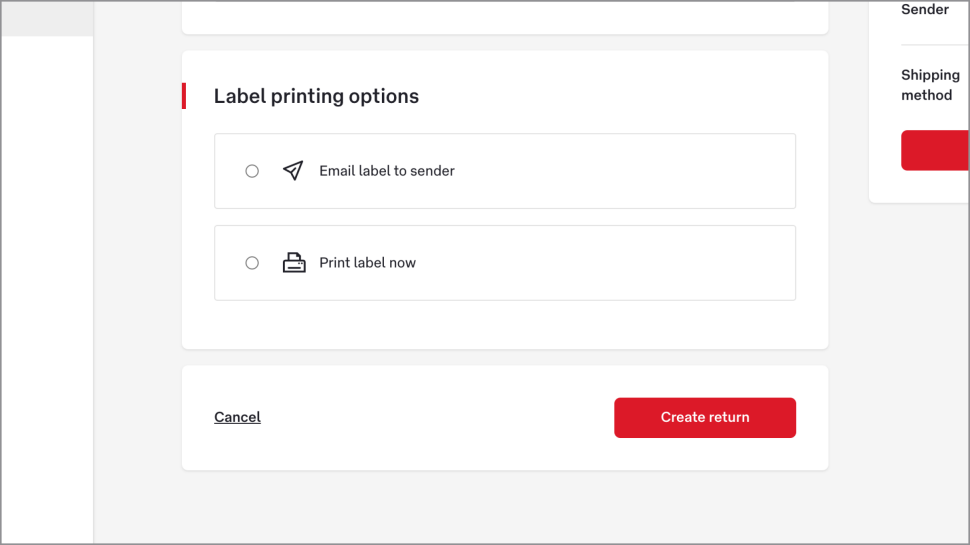
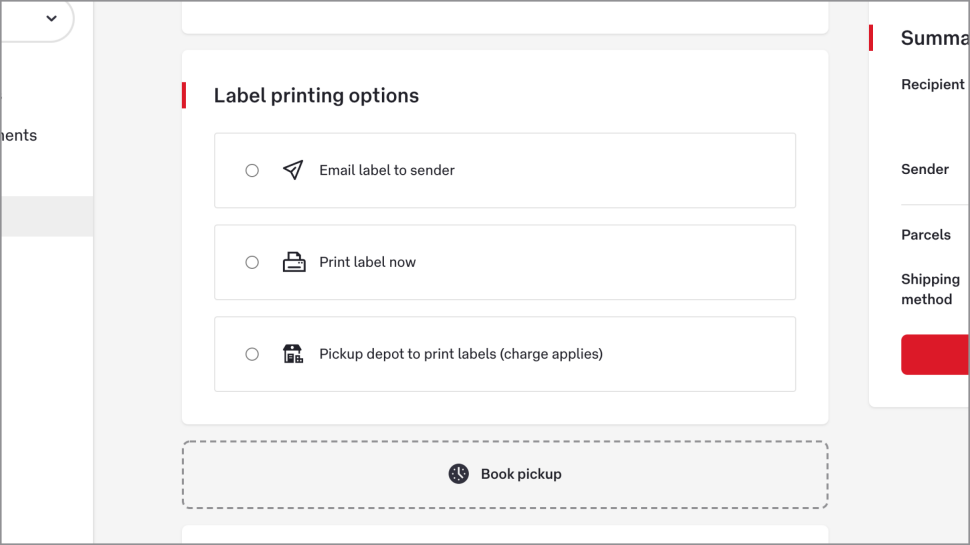
- When you create a return, choose Print label now.

2. Click Create return. You'll be prompted to print your label.
Reprint a label
You can reprint a label within 24 hours of creating a return or transfer.
- From the Returns page, click the Connote of the return or transfer you want to reprint a label for.
- Click Download label. If you can’t see the Download label button, then the time limit has expired and you will need to create a new return or transfer.
- Print the label you’ve downloaded.
Was this helpful?
We read your feedback and use it to improve the help pages for our Parcel Send platform.
